Tutorial 6 - Animations with GMT 🎦#
Content
This tutorial explains the basic aspect of doing animations with GMT.
It serves as a guide to help beginners understand and troubleshoot potential issues.
It explains the basic aspect of the movie and events modules.
Note
This tutorial is part of the AGU24 annual meeting GMT/PyGMT pre-conference workshop (PREWS9) Mastering Geospatial Visualizations with GMT/PyGMT
Website: https://www.generic-mapping-tools.org/agu24workshop
Conference: https://agu.confex.com/agu/agu24/meetingapp.cgi/Session/226736
History
Author: Federico Esteban
Created: November-December 2024
Recommended version: GMT 6.5.0
Fee free to play around with these code examples 🚀. In case you found any kind of error, just report it by opening an issue or provide a fix via a pull request. Please use the GMT forum to ask questions.
1️⃣. Introduction#
Prior to GMT 6.0, ambitious movie makers had to write complicated scripts where the advancement of frames was explicitly done by a shell loop. At the end of the script, you would have to convert your PostScript plot to a raster image with a name that is lexically increasing, and then later you would use some external software to assemble the movie. Hence, only very brave GMT users attempted to make GMT animations. Here you can see a more complete explanation and some examples of those times.
GMT 6 (Wessel et al. 2019) simplified all that by adding movie-making modules that were later refined with GMT 6.5 (Wessel et al. 2024). These modules empower users to create animations by taking over non-trivial tasks.
1.1. What is an Animation?#
Animation is a technique used to create the illusion of motion.
This is achieved by displaying a rapid sequence of still images (at least 12 frames per second; fps).
1.2. How to Make an Animation#
In order to make an animation we need:
A series of still images.
A method to combine these images into a video format.
Technical Information
A video file is essentially a container format that sequentially displays all the images it contains.
1.3. Why use GMT for animations?#
GMT is ideal for animations that require:
Scientific precision.
Handling geospatial data.
High-quality graphical visualizations.
1.4. Types of animations in GMT#
For the purposes of this tutorial, I define two types of animations that can be made based on their complexity:
1.5. Prerequisites#
GMT version 6.5 or later.
Bash scripting environment: The examples in this tutorial are written in Bash and may not work correctly in other shell environments (e.g., zsh, fish, or Windows cmd).
2️⃣. Tutorial 1. Earth spinning#
Here I explain how to make an animation of a moving object which only requires the movie module.
As an example, I will create an animation of the Earth spinning like the one below.
Technical Information
This animation was created using 360 images (or frames), with each frame representing a 1-degree rotation in the central longitude of the map, displayed at 24 fps.
To create the animation, I follow these four steps:
Make first image
Make master frame with gmt movie
Make draft animation
Make full animation
2.1. Goals of the Tutorial#
2.2. Make first image#
The first step is to create an image using a standard GMT script (with modern mode) that will serve as the base for the animation.
Important
Step Goal: Create the first image of the animation.
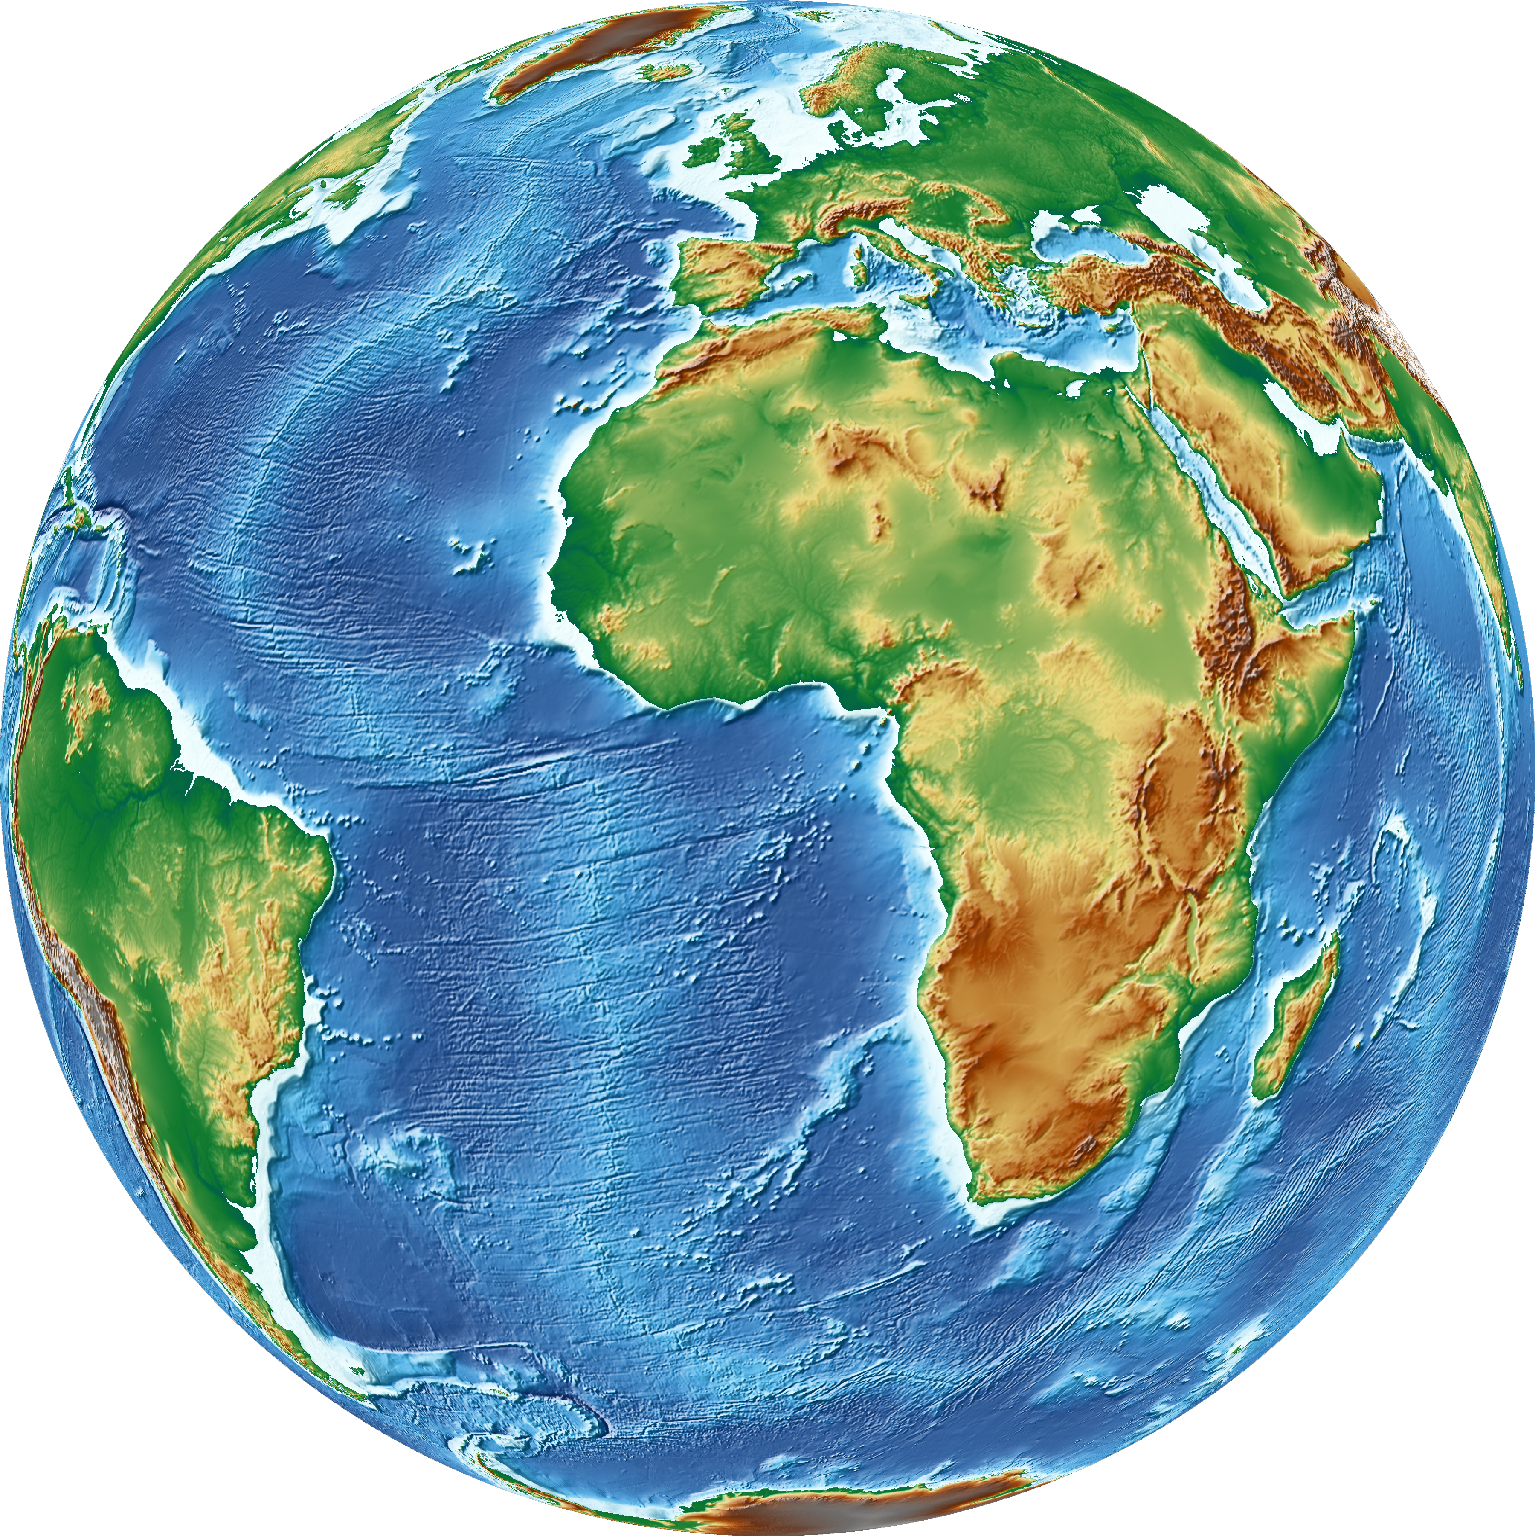
For this example, I create a map of the Earth with:
Technical Information
gmt begin; gmt end: Commands to start and end a GMT script using modern syntax.
@earth_relief_06m: A remote grid of Earth’s relief with a 6-minute resolution.
-I: Apply illumination to the grid.
-JG0/0/13c: Perspective projection with the center at longitude 0 and latitude 0, with a 13 cm map width.
2.3. Make the Master Frame#
In this second step, I recreate the previous image but with the movie module which is used to create animations.
Important
Step Goal: Make a master frame that looks identical to the first image.
2.3.1. What is GMT movie?#
The movie module simplifies most of the steps needed to create an animation by executing a single plot script that is repeated across all frames.
Required Arguments:
mainscript: Script that will be used to create all the frames.
-N: Name for the output file.
-C: Canvas Size (see below).
-T: Number of frames (see below).
There are two types of outputs. An image (called master frame; -M) or a video (-F). You have to ask for at least one of them.
Optional Arguments (useful for this tutorial):
-G: Set the canvas color (or fill).
-V: Show verbose information during the movie-making process.
-L: Show a label with the frame number.
2.3.2. First Attempt#
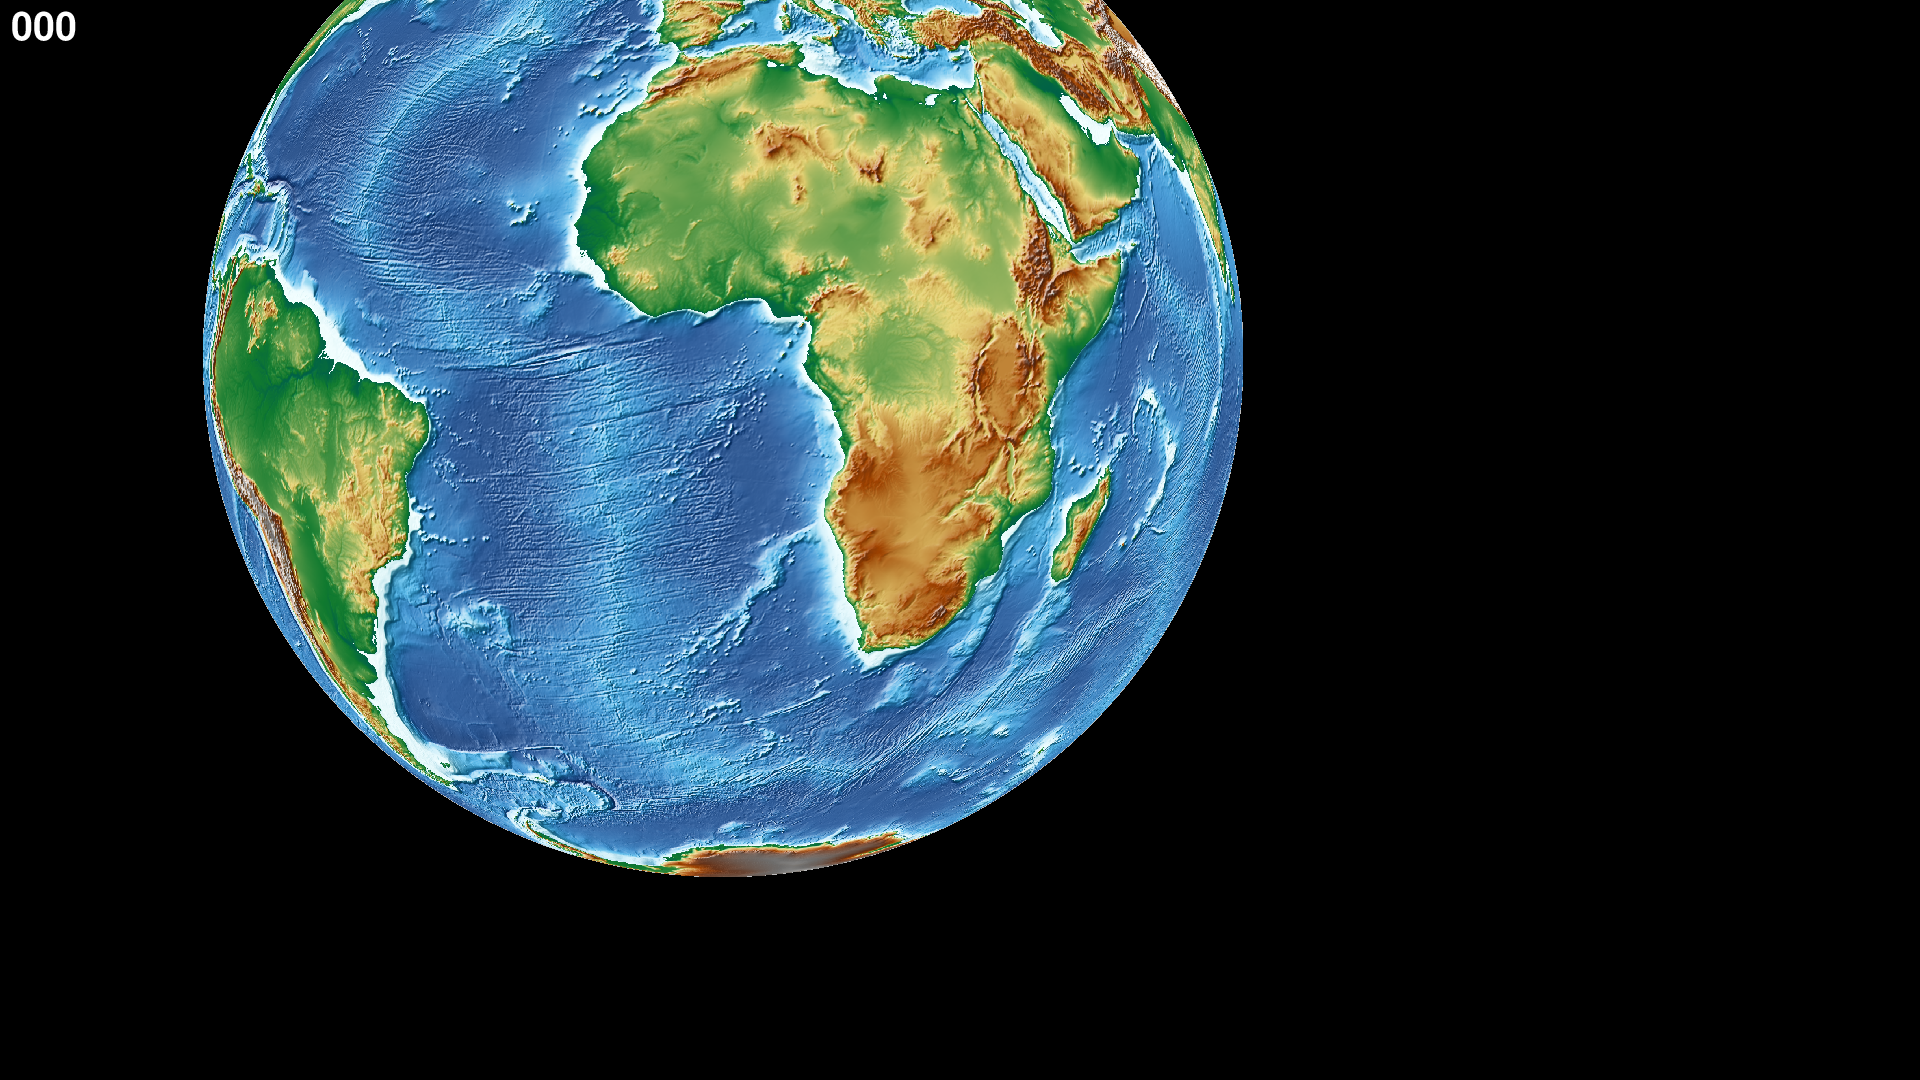
In the first attempt, I create the first frame (-M0,png) over a black canvas (-Gblack) for an HD video format (-Chd).
Error
The figure does not fit on the canvas!
There is excess space on one side.
Technical Information
The previous script is enclosed between
cat << 'EOF' > main.shandEOF.This creates the
main.shfile on-the-fly (using a Here Document).This is useful because it allows us to see (and edit) the main script and the arguments of movie just using a single file.
2.3.3. The Canvas#
What is the Canvas?
The canvas is the black area of the previous image.
This is the working area of the frames.
The elements of the main script must be drawn inside the canvas.
The elements that are outside will be (totally or partially) hidden in the animation.
The canvas size is important by two reasons:
to set the width and height (in cm or inches) of the frames.
to set the dimensions in pixels of the frames/movie (i.e. the quality).
How to set the canvas:
This is set via
movie -C.There are two ways to the set the canvas:
Preset formats
Custom format
Preset formats:
It is the easiest way to specify the canvas.
Use the name (or alias) to select a format based on this table (for 16:9 format):
Preset format (alias)
Pixel dimensions
DPC
4320p (8k and uhd-2)
7680 x 4320
320
2160p (4k and uhd)
3840 x 2160
160
1080p (fhd and hd)
1920 x 1080
80
720p
1280 x 720
53.3333
540p
960 x 540
40
480p
854 x 480
35.5833
360p
640 x 360
26.6667
240p
426 x 240
17.75
Pixel density (dots-per-cm, dpc) is set automatically.
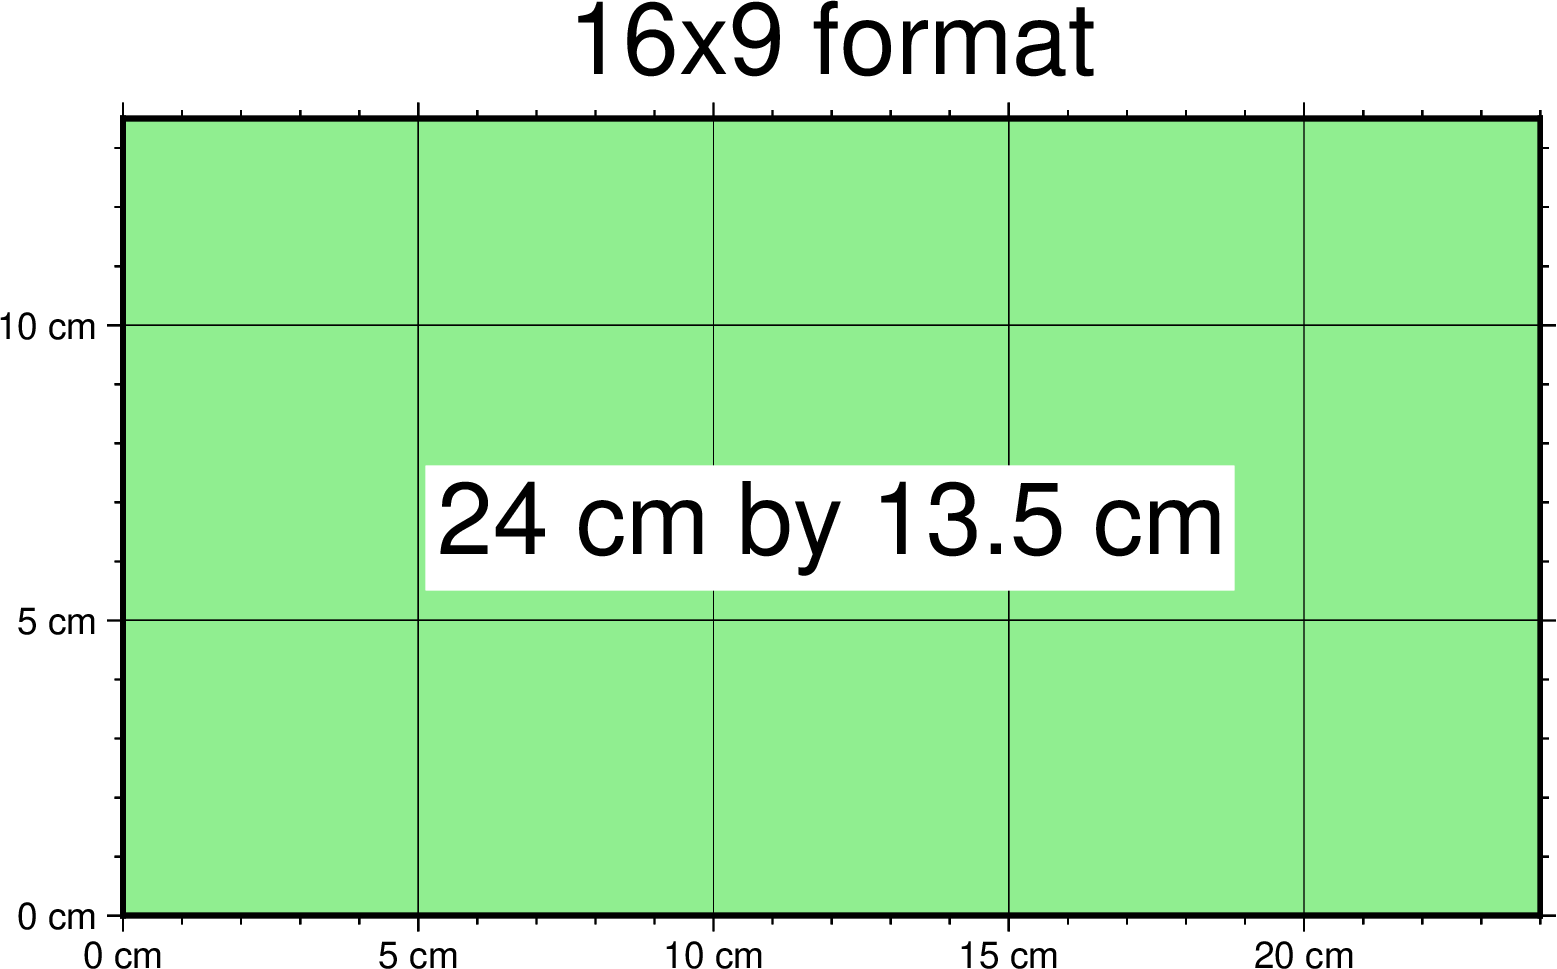
For the 16:9 format, the canvas is 24 x 13.5 cm:
Important
By default, the canvas has an offset of 2.54 cm (or 1 inch) in X and Y.
Note
You can also specify the dimensions in inches (or points).
There are also preset formats for 4:3 (uxga, sxga+, xga, svga, dvd).
Custom format:
If you want another dimension, you can request a custom format directly by giving width and height and dpu (widthxheightxdpu).
Important
DPU: Dots-per-unit pixel density. So, it is DPI for inches or DPC for centimeters.
2.3.4. Second attempt. Fix the canvas#
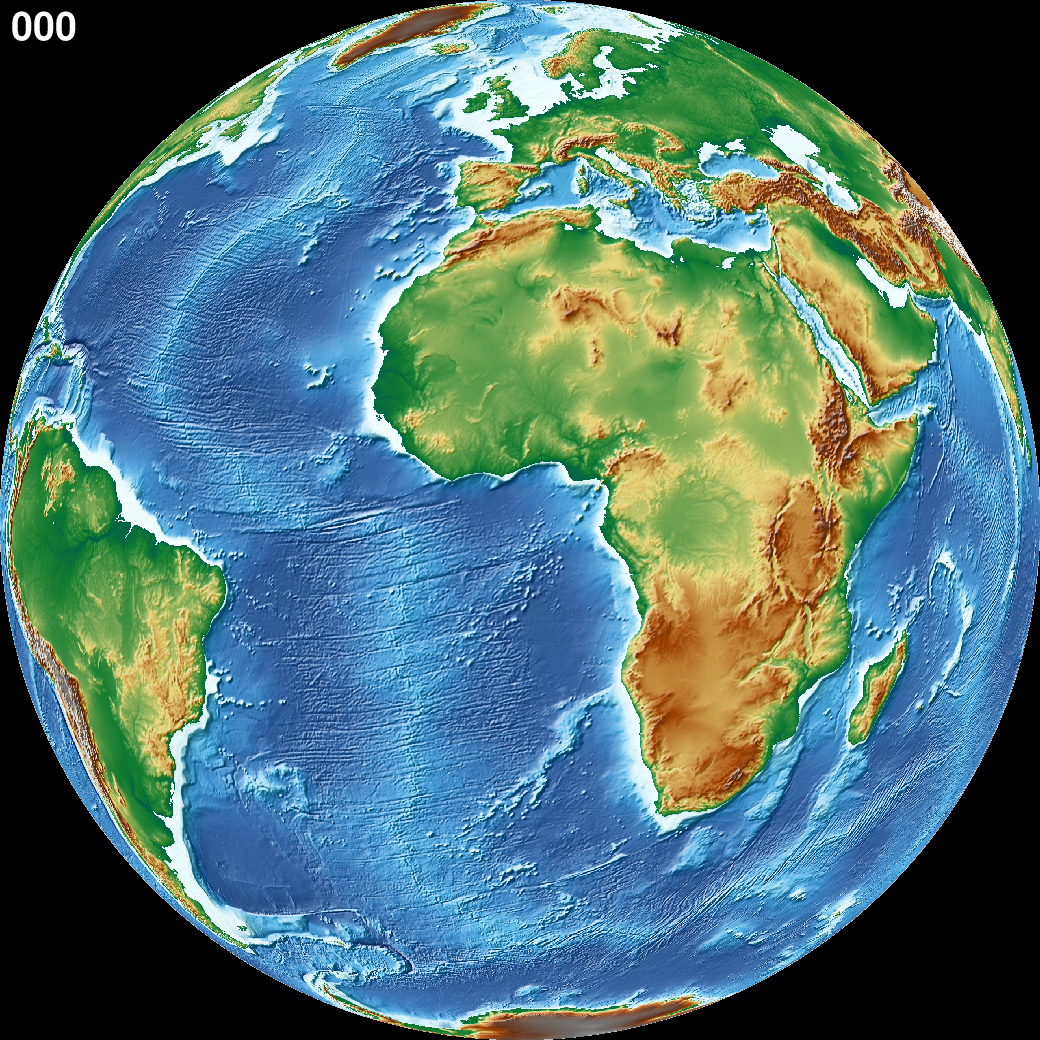
For this new attempt I:
use a custom canvas of a square of 13 cm and 80 dpc (same resolution as full hd,
-C13cx13cx80).use
-X0and-Y0(inmain.sh) to remove the default offset.
2.4. Make draft animation#
Once the master frame is ok, I recommend making a very short and small movie so you don’t have to wait very long to see the result.
Step Goals:
See that the video file is created properly.
See that the frames are changing as expected.
Note
The conversion to a video format relies on FFmpeg (for MP4 or WebM) and GraphicsMagick (for GIF).
2.4.1. First attempt#
In this step I reduce the number of frames to 10 (-T10) and the quality to 30 DPC (-C13cx13cx30).
Also, I add the following arguments to movie:
-Fmp4: to create a mp4 video (now it is possible to delete
-M).-Zs: to remove the temporary files created in the movie-making process. Useful to keep the working directory clean.
cat << 'EOF' > main.sh
gmt begin
  gmt grdimage @earth_relief_06m -I -JG0/0/13c -X0 -Y0
gmt end
EOF
gmt movie main.sh -NEarth -C13cx13cx30 -T10 -M0,png -V -Gblack -L+f14p,Helvetica-Bold,white -Fmp4 -Zs
Error
The movie doesn’t change. We must learn about parameters.
2.4.2. Movie Parameters#
The movie parameters are key to making animations. They are automatically assigned by different movie arguments (see tables below). There are two sets of parameters:
Variable parameters:
These values change with the frame number.
They must be used in the main script to introduce variations in the frames.
Parameter
Purpose or contents
Set by Movie
MOVIE_FRAME
Number of current frame being processed
-T
MOVIE_TAG
Formatted frame number (string)
-T
MOVIE_NAME
Prefix for current frame image
-N and -T
MOVIE_COLk
Variable k from data column k, current row
-Ttimefile
MOVIE_TEXT
The full trailing text for current row
-Ttimefile
MOVIE_WORDw
Word w from trailing text, current row
-Ttimefile
Constant parameters:
These values do NOT change during the whole movie.
They can be used in the main script (and in the optional background and foreground scripts).
Parameter
Purpose or contents
Set by Movie
MOVIE_NFRAMES
Total number of frames in the movie
-T
MOVIE_WIDTH
Width of the movie canvas
-C
MOVIE_HEIGHT
Height of the movie canvas
-C
MOVIE_DPU
Dots (pixels) per unit used to convert to image
-C
MOVIE_RATE
Number of frames displayed per second
-D
Important
In order to introduce changes in the frames we must use the variable parameters.
2.4.3. How to set the number of Frames#
The number of frames (-T) is another important aspect to make animations.
There are 3 ways to do it:
-TNumber:
If you supply a single (integer) value, then it will be the total number of frames.
Under the hood, this will create a one-column data set from 0 to that number minus one.
For example, for -T10 I get values from 0 to 9.
In the main script, you have to use the MOVIE_FRAME parameter to access the values.
-Tmin/max/inc:
If you supply 3 values, then GMT will create a one-column data set from min to max, incrementing by inc. You have to use the MOVIE_COL0 parameter to access the values of the one-column data set. The total of number of frames will be:
-Ttimefile:
If you supply the name of a file, then GMT will access it and use one record (i.e. row) per frame. This method allows you to have more than one-column and can be used to make more complex animations. For example, you can have a second column with numbers that you can access using MOVIE_COL1. The file can even have trailing text that will be accessed with MOVIE_TEXT.
2.4.4. Second attempt. Use parameters#
Now I update the script with movie parameters.
First, I use the MOVIE_FRAME variable parameter to set the central longitude of the map.
I also use the MOVIE_WIDTH constant parameter (in main.sh) to set the width of the map (instead of 13c).
cat << 'EOF' > main.sh
gmt begin
 gmt grdimage @earth_relief_06m -I -JG-${MOVIE_FRAME}/0/${MOVIE_WIDTH} -Y0 -X0
gmt end
EOF
gmt movie main.sh -NEarth -C13cx13cx30 -T10 -M0,png -V -Gblack -L+f14p,Helvetica-Bold,white -Fmp4 -Zs
Note
I add a minus sign so the earth spins in the correct sense.
2.5. Make full animation#
Once the draft animation is working it is possible to increment the number of frames (-T) and movie quality (-C).
In the step, I increase:
the number of frames to 360 (
-T360) to get the whole spin.the resolution to 80 DPC (
-C13cx13cx80) to get a high-quality video.cat << 'EOF' > main.sh gmt begin gmt grdimage @earth_relief_06m -I -JG-${MOVIE_FRAME}/0/13c -X0 -Y0 gmt end EOF gmt movie main.sh -NEarth -C13cx13cx80 -T360 -M0,png -V -Gblack -L+f14p,Helvetica-Bold,white -Fmp4 -Zs
Tip
Be careful. This step can be quite time (and resource) consuming. By default, movie uses all the cores available to speed up the frame creation process. So probably you can’t do anything else while GMT is creating all the frames (maybe you can take a break, or have lunch). Also you could use -x to specify the number of active cores to be used.
3️⃣. Tutorial 2. Earthquakes#
Check the extended section to see the tutorial 2 about appearing objects. That type of animation is more complex and requires the use events and movie modules. In that tutorial, I create an animation showing the occurrences of earthquakes during the year 2018 (with one frame per day).
4️⃣. See also#
The paper about animations which include explanation and examples (Wessel et al. 2024).
Check the movie and events modules documentation for full technical information.
See the GMT animation gallery for more examples.
5️. References#
Wessel, P., Luis, J. F., Uieda, L., Scharroo, R., Wobbe, F., Smith, W. H. F., & Tian, D. (2019). The Generic Mapping Tools Version 6. Geochemistry, Geophysics, Geosystems, 20(11), 5556–5564. https://doi.org/10.1029/2019GC008515
Wessel, P., Esteban, F., & Delaviel-Anger, G. (2024). The Generic Mapping Tools and animations for the masses. Geochemistry, Geophysics, Geosystems, 25, e2024GC011545. https://doi.org/10.1029/2024GC011545.


